Coyote Drawing Step by Step
Right when you hear the word coyote referred to, you could have a particular miserable liveliness character ring a bell. These canine foragers are useful by they way they investigate their ongoing situation and use their cerebrums to persevere through their serious environmental factors. Learn this blog and visit the more drawing ideas like fluttershy drawing.
These creatures are in like manner saw by their terrible night cries, which has made them feature in various fables and stories. Numerous people love this wily animal too, and should know how to draw a coyote. This very guide will intend to answer that request for you! Our one small step at a time guide on the most capable strategy to draw in a coyote just 6 phases will let you know the most ideal way to draw this unfathomable animal.
Stage 1 - coyote Drawing
In this underlying portion of our helper on the most capable strategy to draw a coyote, you will use your pencil to draw a couple of unforgiving designs for the coyote that you will draw. To do this, circumspectly follow the line plan that we have in the reference picture to make the unforgiving coyote shape.
While it will be extremely unforgiving for the present, we will add essentially more detail to it in the following advances. At the point when you're satisfied with how these pencil lines are looking, you can use a drawing pen or a hazier pencil to draw in the substance of the coyote more detail. All through this drawing, we will use heaps of extra rough lines to make the coyote look a piece furrier.
Stage 2 - Add some pen detail to the body and members
This second step of your coyote drawing will see you using your pen to turn out a more noteworthy measure of the guidelines that you pulled in the past step. For this part, you can move over the back of the coyote close by the two legs that you can see drawn over in the reference picture. You can in like manner add exactly a more noteworthy measure of those tough lines that we referred to for the chest of the coyote.
Stage 3 - By and by, finish the extra two extremities
Advancing forward with this helper on the most capable strategy to draw a coyote, you can now add more pen lines over the overabundance two undrawn legs. Basically go over the pen lines as you have been doing, and add a detail to the legs as you go. That's all there is to it this step, and you're ready to progress forward.
Stage 4 - Draw a tail for your coyote drawing
Before forging ahead toward the last nuances of your coyote drawing, there is one more perspective to add. All you truly need to achieve for this step is draw the tail of the coyote. The tail is extremely thick and shaggy, and you can end it in a few additional harsh, sharp lines to make it look fuffy.
At the point when you have the tail drawn, you can start to destroy the pencil lines from indisputably the underlying step, as you won't need them any longer. Right when you start erasing, you'll have to guarantee that the pen lines are thoroughly dry first!
Stage 5 - As of now, you can add a last nuances to your coyote drawing
In this piece of our helper on the most capable strategy to draw a coyote, we will add a couple of last nuances, contacts and parts to the picture. The nuances that we have on our reference picture are incorporated for the most part of a couple of close to nothing, sharp lines generally through the coyote to give it some more shaggy detail.
These are the nuances that we would add, yet you should feel free to add any of your own that you would like for this image! A couple of considerations you could use is add an establishment parts to show what kind of environment this coyote is in, and you could add a couple of periodic nuances as well.
Accepting for the time being that you're feeling extra imaginative, you could in like manner add a couple of extra animals to the picture nearby it. How might you figure you will finish this coyote drawing?
Stage 6 - Finish your coyote drawing with some tone
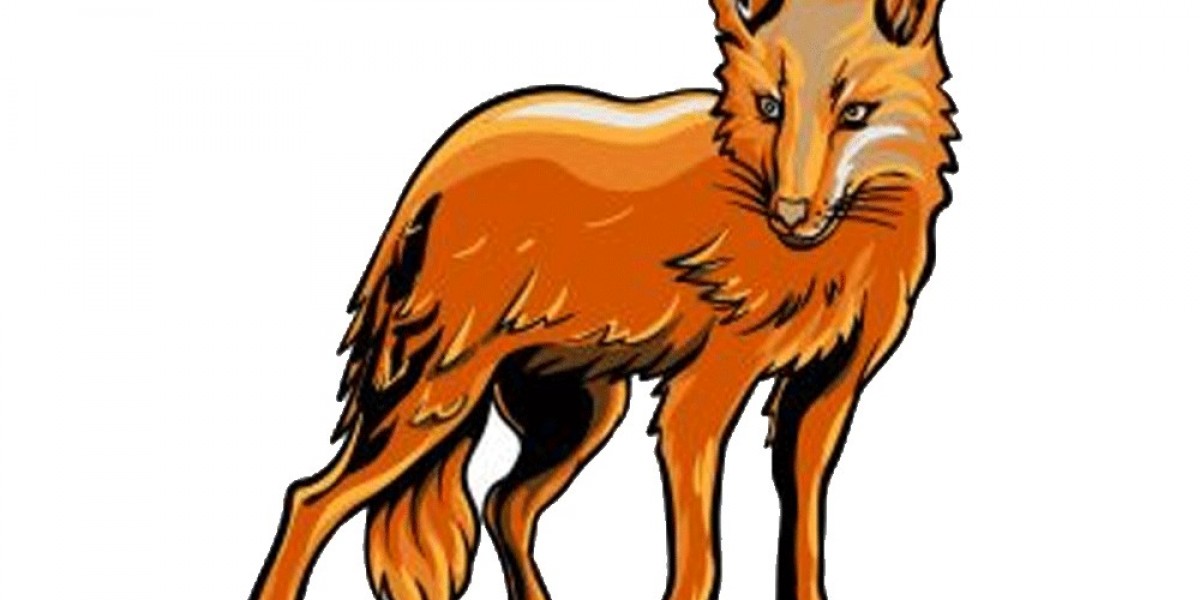
That conveys us to the last step of your coyote drawing, and here you get to display your imagination by using a magnificent assortments to finish your picture. Coyotes can arrive in many assortments, and we went for the faint orange concealing that various coyotes have for our reference picture. This is just an uncommon illustration of assortment plans you could use, in any case! Coyotes can similarly come in shades of grays, whites, blacks and that is just a hint of something larger.
You could similarly go for a more perplexing picture if you like by using a couple of splendid and creative assortments. It's absolutely subject to you, and there is no wrong methodology! Exactly when you have closed which colors you will use for your picture, all that remains is picking which workmanship mediums you should use. In case you want a more praiseworthy look, you could use painterly mediums, for instance, acrylic paints and watercolors.