Materials Needed
To kickstart your Ludo board game project, gather the following materials:
- Medium-density fiberboard (MDF): Choose a sturdy MDF board as the foundation for your Ludo board.
- Acrylic paint: Vibrant colors are essential for creating the distinct squares and paths on your board.
- Paintbrushes: Various sizes to ensure precision in painting details.
- Wooden blocks or game pieces: Use these to represent players on the board.
- Clear varnish: Seal the painted board for durability and a polished finish.
- Ruler and pencil: Ensure accuracy in creating the grid layout on the board.
Designing the Board
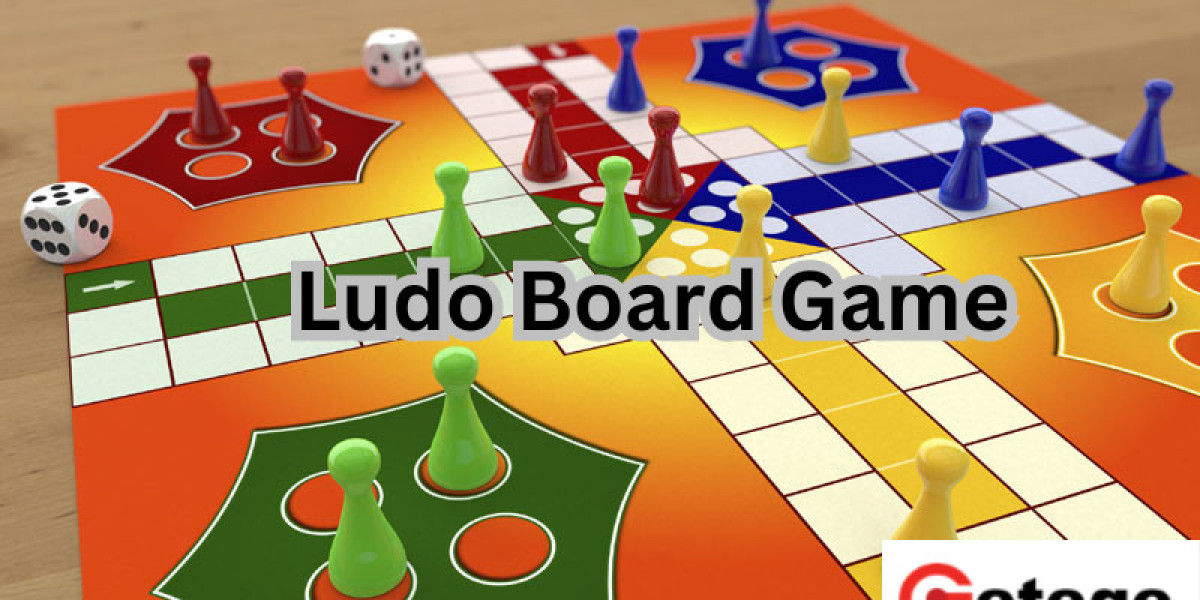
Creating the Grid
Start by sketching a 10x10 grid on the MDF board using your ruler and pencil. This grid will form the basis for the classic Ludo layout. Divide the board into four equal quadrants, assigning a distinctive color to each quadrant to represent the starting zones for players.
Painting the Squares
Take your acrylic paint and carefully fill in the squares, alternating between colors within each quadrant. The traditional Ludo board features vibrant red, blue, green, and yellow squares. Precision is key, as a well-defined board enhances both the visual appeal and playability of your homemade Ludo set.
Crafting Game Pieces
Wooden Blocks
Choose wooden blocks as your game pieces, ensuring uniformity in size. Paint each set of four blocks in the colors corresponding to the player zones on the board. This creates a seamless connection between the board and game pieces, enhancing the overall aesthetic.
Rules of Play
For a successful homemade Ludo experience, familiarize yourself with the game rules. Here's a concise overview:
- Starting Positions: Players place their pieces in their respective colored zones.
- Movement: Roll a standard six-sided die to determine the number of spaces to move. Move pieces clockwise around the board.
- Capturing Opponents: Landing on an opponent's piece captures it, sending it back to its starting zone.
- Reaching the Center: The goal is to move all pieces from the starting zone to the central destination, following the path of the same color.
Personalization and Finishing Touches
Add a personal touch to your Ludo board game by incorporating custom elements. Consider painting intricate designs or adding a glossy finish with clear varnish for a professional look. Personalization not only enhances the aesthetic appeal but also makes your homemade Ludo set a unique and cherished creation.
Conclusion
Crafting a Ludo board game from scratch is a rewarding endeavor that combines creativity and strategic thinking. By following these detailed steps, you can create a visually stunning and functionally sound board that rivals commercially available sets. Gather your friends and family, roll the dice, and embark on an exciting journey with your homemade Ludo masterpiece.